Are you tired of riding the same old mini bike that everyone else has? Do you want to stand out from the crowd and have a unique ride that reflects your personal style? Building your own custom mini bike is the perfect solution!
Not only will you have a one-of-a-kind ride, but you’ll also have the satisfaction of building it yourself. In this article, we’ll guide you through the process of building your own custom mini bike, from choosing the right parts to putting it all together.
Why Build a Custom Mini Bike?
There are many reasons why building a custom mini bike is a great idea. Here are just a few:
Personalization
Building your own custom mini bike allows you to personalize every aspect of your ride. From the color and design to the parts and accessories, you have complete control over how your bike looks and performs.
Cost Savings
Buying a pre-made custom mini bike can be expensive. By building your own, you can save money by choosing affordable parts and doing the labor yourself.
Fun and Satisfaction
Building your own mini bike is a fun and rewarding experience. You’ll learn new skills and have the satisfaction of riding a bike that you built with your own two hands.
Choosing the Right Parts
Before you start building your custom mini bike, you’ll need to choose the right parts. Take into account these essential elements:
Frame
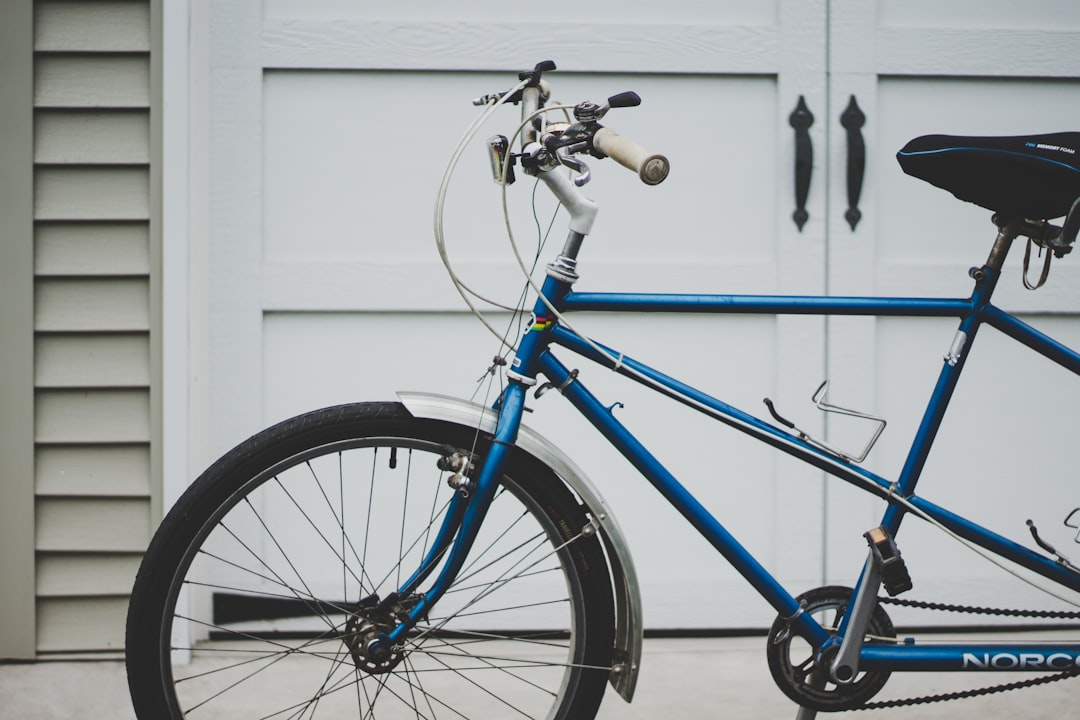
The frame is the foundation of your mini bike, so it’s important to choose one that is sturdy and durable. You can choose from a variety of materials, such as steel, aluminum, or even wood. Consider the weight and strength of the frame when making your decision.
Engine
The engine is the heart of your mini bike, so it’s crucial to choose one that is reliable and powerful. You can choose from a variety of engine types, such as gas, electric, or even a motorized bicycle engine kit. Consider the size and horsepower of the engine when making your decision.
Wheels
The wheels are another important component of your mini bike. You can choose from a variety of sizes and styles, such as spoke wheels or mag wheels. Consider the terrain you’ll be riding on and the look you want for your bike when choosing your wheels.
Seat
The seat is not only a functional component but also a key design element of your mini bike. You can choose from a variety of styles, such as a banana seat or a racing seat. Consider the comfort and style of the seat when making your decision.
Putting It All Together
Once you have all the necessary parts, it’s time to put your custom mini bike together. These are the fundamental procedures to adhere to:
Step 1: Assemble the Frame
Begin by constructing the frame in accordance with the guidelines provided by the manufacturer. Make sure all the bolts are tightened securely.
Step 2: Install the Engine
Next, install the engine onto the frame. Follow the instructions provided with the engine to ensure it is installed correctly.
Step 3: Attach the Wheels
Attach the wheels to the frame, making sure they are aligned and secure. If you have chosen spoke wheels, you may need to tighten the spokes to ensure they are evenly tensioned.
Step 4: Add the Seat
Attach the seat to the frame, making sure it is securely fastened. Modify the position of the seat to achieve the height and angle that you prefer.
Step 5: Test Ride and Make Adjustments
Before taking your custom mini bike for a spin, make sure to test it out in a safe area. If you notice any issues, make the necessary adjustments before riding.
Customization Options
Now that you have the basic components of your custom mini bike, it’s time to add some personal touches. Take into account these various customization choices:
Paint and Design
You can paint your mini bike in any color or design you desire. Consider using stencils or decals to add a unique touch.
Accessories
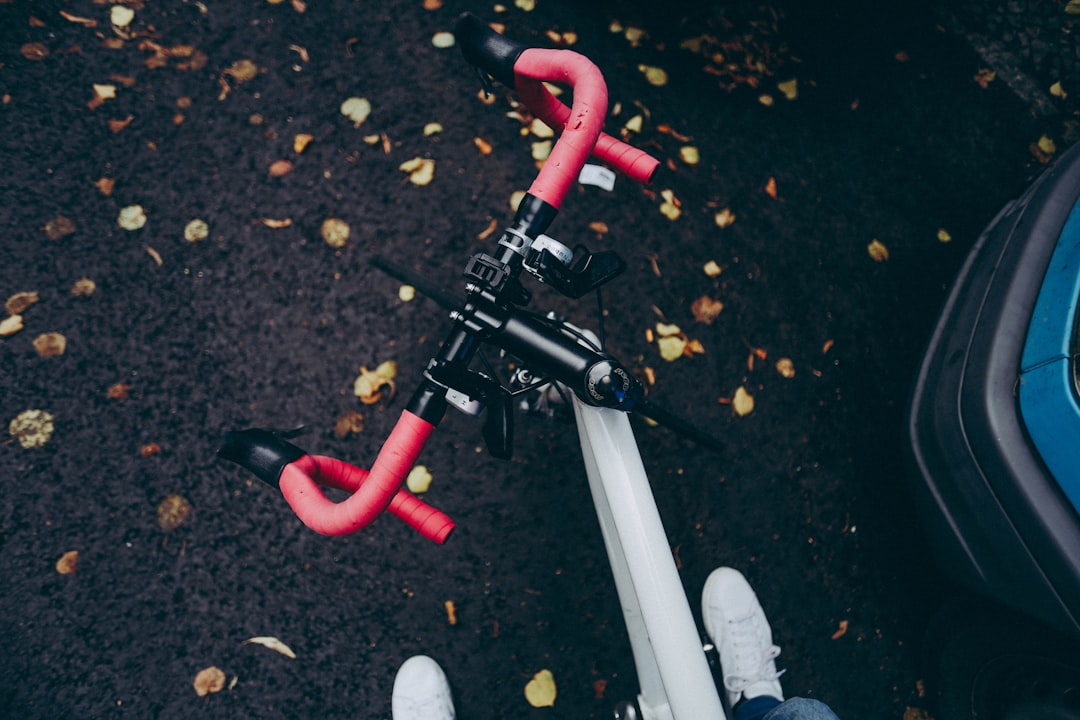
There are many accessories you can add to your mini bike, such as a custom exhaust, handlebars, or headlights. These can not only enhance the look of your bike but also improve its performance.
Upholstery
If you want to take your seat customization to the next level, consider reupholstering it with a unique fabric or pattern.
Safety First
While building and riding your custom mini bike can be a fun and exciting experience, it’s important to prioritize safety. Here are a few safety guidelines to remember:
Wear Protective Gear
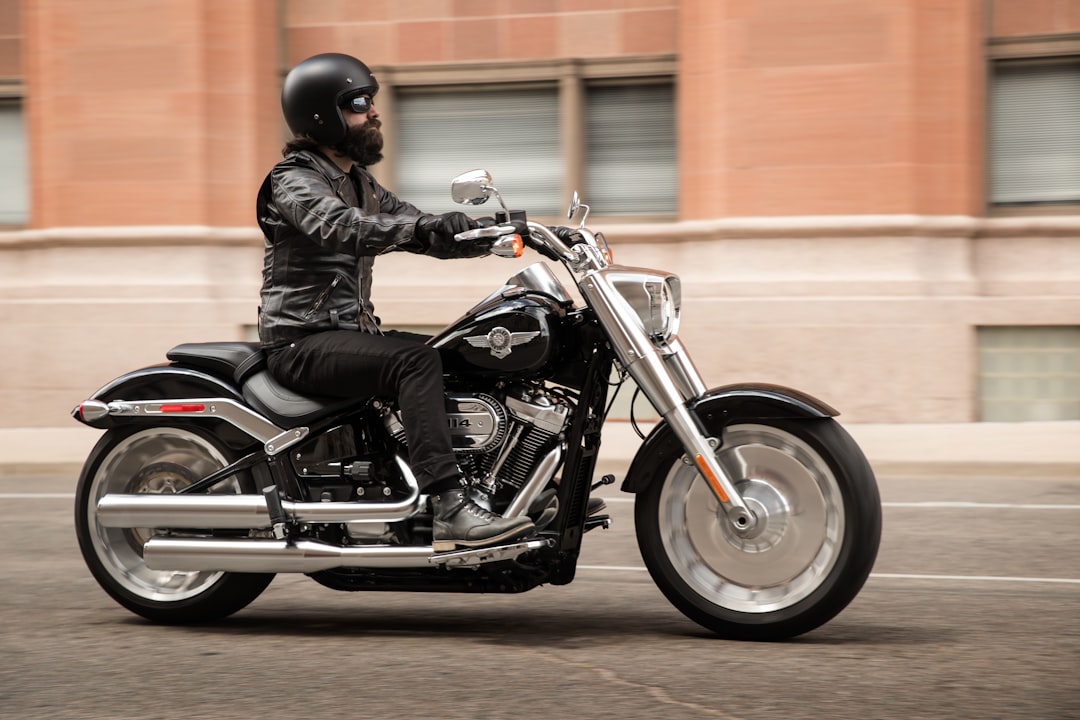
Always wear a helmet, gloves, and other protective gear when riding your mini bike. This can help prevent serious injuries in case of an accident.
Follow Traffic Laws
Just like riding a regular bike, you should follow all traffic laws when riding your mini bike. This includes wearing reflective gear and using hand signals when turning.
Perform Regular Maintenance
To ensure your custom mini bike stays in top condition, perform regular maintenance checks and tune-ups. This will help prevent any accidents or breakdowns while riding.
Conclusion
Building your own custom mini bike is a fun and rewarding experience that allows you to create a unique ride that reflects your personal style. By choosing the right parts and following the proper steps, you can have a one-of-a-kind mini bike that you can be proud of. Just remember to prioritize safety and have fun with the customization process!
For more information, visit Techmelife
